Israeli Bandage vs Tourniquet: advantages & disadvantages, application guide, uses in emergency situation
The Israeli bandage, a combat-proven Trauma dressing, designed to effectively stop blood flow from traumatic hemorrhage wounds during pre-hospital emergency scenarios. A tourniquet is a medical device used to apply pressure to a limb or extremity in order to stop the flow of blood. It is used in emergencies, in surgery, or in post-operative rehabilitation.
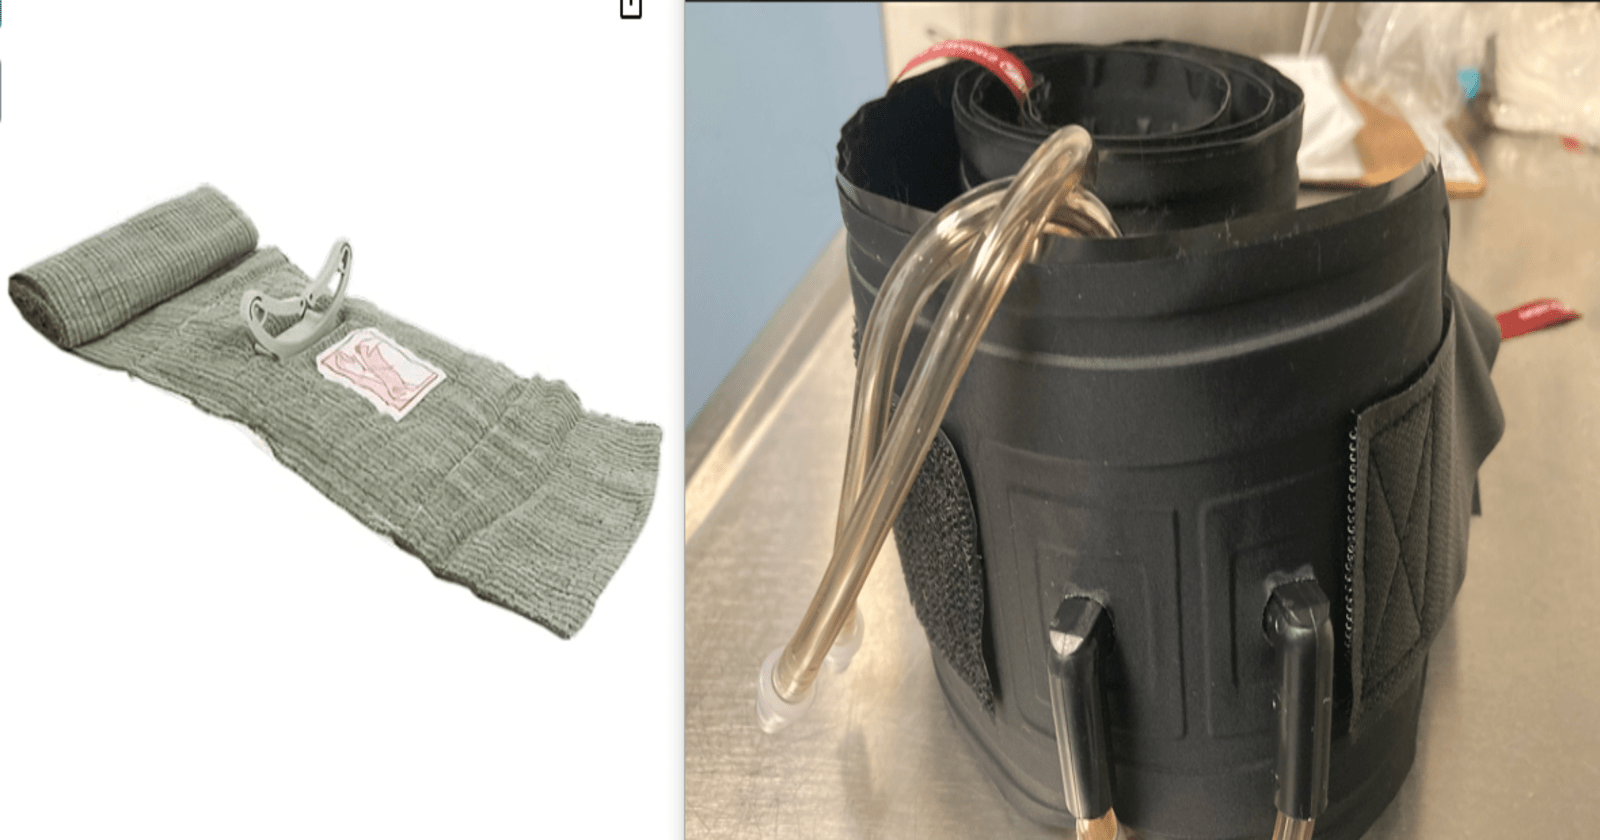
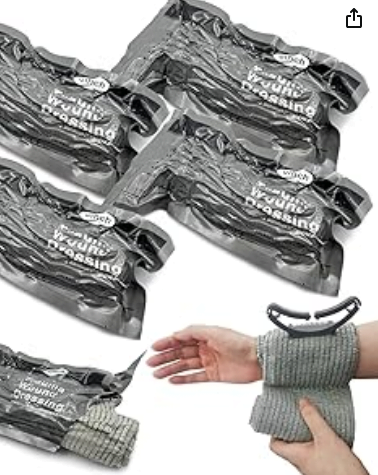
Israeli bandage, also known as an emergency bandage or trauma dressing, is a type of first aid dressing designed to provide quick and effective treatment for traumatic injuries. It was originally developed by the Israeli military for use in combat situations, but it has since become widely used in civilian emergency medical care. The Israeli bandage typically consists of a sterile dressing, an elastic bandage, and a pressure applicator.
Israeli Bandage vs Tourniquet
A tourniquet is a medical device used to control bleeding by temporarily stopping the flow of blood through a major artery. It is typically used in emergency situations, especially when direct pressure or other methods are insufficient to control severe bleeding. Tourniquets are crucial tools in first aid and trauma care, but they should be used with caution and knowledge of proper techniques.
Important differences between an Israeli bandage and a tourniquet
An Israeli bandage and a tourniquet are both medical devices used for different purposes in managing bleeding. Here are the key differences between them
Israeli Bandage
Tourniquet
Primarily used for pressure dressing and wound care.
Used to completely stop arterial bleeding in extremities by restricting blood flow to the injured limb.
It helps control bleeding by applying direct pressure to the wound and providing a sterile covering.
Tourniquets are typically applied higher up on the limb, proximal to the injury.
Applied directly to the wound, and it often includes a built-in pressure bar for additional compression.
Applied proximal to the bleeding site on the limb and tightened until arterial bleeding is stopped. Tourniquets are not meant to be applied directly over wounds.
Relies on a combination of elastic material and a pressure bar or pad to create direct pressure on the wound.
Uses a strap or band tightened around the limb to completely occlude blood flow.
Does not completely cut off blood flow but helps control bleeding by applying pressure.
Completely stops blood flow to the injured limb, and it’s a more aggressive measure.
Can be used on various parts of the body, including limbs, head, or torso.
Primarily used on limbs to control severe bleeding.
Can be left in place for an extended period, especially if additional medical care is delayed.
Should be used as a temporary measure and removed or loosened after a specific duration to prevent complications like tissue damage.
Relatively easy to use and may be part of basic first aid training.
Requires proper training for correct application, and its use may be more common in emergency medical settings
Key features of an Israeli bandage vs key features of a tourniquet
Pressure Applicator: The bandage typically includes a built-in pressure applicator that allows direct pressure to be applied to the wound. This helps control bleeding by exerting pressure on the injured area.
Non-Adherent Pad: The bandage contains a sterile, non-adherent pad that is placed directly over the wound. This pad helps to prevent the dressing from sticking to the wound, minimizing trauma during removal.
Elastic Bandage: An elastic bandage is attached to the dressing, allowing for secure wrapping around the wound. This compression helps further control bleeding and provides support to the injured area.
Closure Bar: Some Israeli bandages feature a closure bar or clip mechanism that secures the bandage in place once it is wrapped around the wound. This helps maintain consistent pressure and prevents the bandage from unraveling.
Self-Application: The design of the Israeli bandage is often user-friendly, allowing individuals to apply the dressing to themselves if needed. This is particularly beneficial in emergency situations where immediate medical assistance may not be available.
Versatility: Israeli bandages are suitable for various types of wounds, including lacerations, punctures, and other traumatic injuries. The combination of a pressure applicator, non-adherent pad, and elastic bandage makes it versatile in addressing different wound types.
Sterility: The bandage is typically packaged in a sterile and sealed pouch to prevent contamination. This ensures that the dressing remains hygienic until it is needed.
Compact Design: Israeli bandages are often compact and lightweight, making them easy to carry in first aid kits, emergency response kits, and medical bags.
Tourniquet
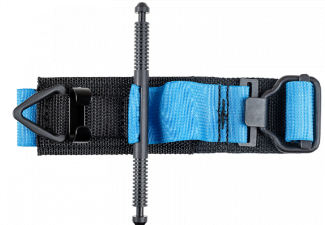
windlass tourniquet
Strap or Band: Tourniquets consist of a strap or band made of durable material, often nylon or similar fabric, that can be tightened securely around the limb.
Windlass Mechanism: Many tourniquets have a windlass or twisting rod mechanism. This allows the user to tighten the tourniquet by turning the windlass, creating the necessary pressure to restrict blood flow.
Locking Mechanism: Tourniquets are equipped with a locking mechanism to secure the strap in place once it has been tightened. This prevents unintentional loosening during use.
Release Mechanism: In emergency situations, quick and easy removal of the tourniquet is crucial. Modern tourniquets often have a quick-release mechanism that allows for rapid removal once bleeding is under control.
Adjustability: Tourniquets are adjustable to fit different limb sizes. This adaptability is important to ensure effective application on various individuals.
Durability: Tourniquets are designed to withstand the rigors of emergency situations. They are made from materials that are durable, resistant to wear, and capable of maintaining effective pressure.
Visual Instructions: Many tourniquets have visual instructions or markings to guide users on proper application. This is particularly important in high-stress situations to ensure correct usage.
Compatibility with One-Handed Use: Some tourniquets are designed for one-handed application, allowing individuals to apply the device to themselves if needed. This feature is crucial in situations where immediate assistance may not be available.
Latex-Free Materials: Tourniquets are often made from latex-free materials to prevent allergic reactions in individuals who may be sensitive to latex.
Color Coding: Tourniquets may be color-coded to help users quickly identify and differentiate between different models or sizes. This aids in efficient deployment, especially in chaotic environments.
Basic overview of the role of Israeli Bandage vs Tourniquet in Emergency situation
Israeli Bandage
Tourniquet
Purpose: Israeli bandages are designed to provide quick and effective pressure to control bleeding in emergency situations.
Purpose: Tourniquets are used to stop severe bleeding by constricting blood flow to a limb.
Construction: They typically consist of a sterile dressing, an elastic bandage, and a built-in pressure applicator.
Application:They are typically placed proximal to the bleeding site on an extremity and tightened until bleeding stops. Tourniquets are essential in situations where direct pressure or other methods may not be sufficient.
Application: The bandage is applied directly to the wound, and the elastic bandage is tightly wrapped around the affected area. The pressure applicator helps apply direct pressure on the wound, aiding in blood clotting.
Caution:Tourniquets should be used as a last resort, and their application should be swift and purposeful. They are not meant for minor injuries.
Key Points to consider when using Israeli bandages and tourniquets .
Rapid Response:Both Israeli bandages and tourniquets enable rapid response to control bleeding, which is critical in preventing further blood loss and improving the chances of survival.
Versatility: Israeli bandages are versatile and can be used on various types of wounds, while tourniquets are specifically designed for extremity injuries.
Training: Proper training is crucial for the correct application of both Israeli bandages and tourniquets to ensure effectiveness without causing additional harm.
Injury Type: Israeli Bandages are suitable for various wounds, while tourniquets are more specific to severe limb bleeding.
Duration of Use:
Tourniquets are meant for temporary use until professional medical help arrives, while Israeli Bandages can be used for longer periods in some cases.
Size and Weight:
Depending on the context, the size and weight of the first aid kit might influence the choice between the two.
In emergency situations, having access to and knowledge of these tools can be life-saving, particularly in situations where immediate medical attention is not readily available.
How to apply a Tourniquet
Tourniquet Application Steps:
Identify the Bleeding Site: Locate the source of the bleeding and position the tourniquet proximal (closer to the body) to the injury, between the injury and the heart.
Place Tourniquet: Apply the tourniquet directly to the skin, avoiding joints if possible. Ensure that it is tight enough to stop arterial blood flow.
Secure Windlass: Turn the windlass to tighten the tourniquet until the bleeding stops. Be cautious not to overtighten, as this can cause additional harm.
Secure the Tourniquet in Place: Lock the tourniquet in position using the buckle or other securing mechanism.
Marking the Time: It’s crucial to mark the time when the tourniquet was applied. Tourniquets should only be left in place for a limited duration to prevent complications like tissue damage and ischemia.
Seek Professional Medical Help: Tourniquets are a temporary measure, and professional medical assistance should be sought as soon as possible. Communicate with emergency services and provide them with information about the tourniquet application.
Video by The Hartford Consensus
14 Easy general guide on how to apply an Israeli bandage.
Assess the Situation:
Ensure the safety of yourself and others.
Assess the extent of the injury and identify any life-threatening bleeding.
Call for Help:
If the injury is severe, call for emergency medical assistance.
Gather Supplies:
Retrieve an Israeli bandage from your first aid kit.
Prepare the Wound:
If possible, clean the wound with antiseptic wipes or sterile water.
Place a sterile dressing or gauze pad over the wound.
Position the Limb:
If the injury is on a limb, position the limb in a way that minimizes movement.
Apply Direct Pressure:
Place the sterile pad from the Israeli bandage directly over the wound.
Apply firm pressure with your hands to control bleeding.
Unroll the Israeli Bandage:
Unroll the elasticized bandage part of the Israeli bandage.
Position the Bandage:
Position the unrolled bandage over the sterile pad, ensuring that the pad covers the wound completely.
Wrap the Bandage:
Wrap the bandage around the limb or affected area, covering the entire wound site.
Maintain firm pressure as you wrap.
Secure the Bandage:
Secure the end of the bandage with the built-in closure clip. If your bandage doesn’t have a closure clip, use medical tape or any provided fastening mechanism.
Tighten the Bandage:
Pull the bandage tight to maintain pressure on the wound.
Secure the End:
Secure the end of the bandage in place using the clip, tape, or any provided fastening mechanism.
Check Circulation:
Ensure that the bandage is not too tight, and check for signs of adequate blood flow beyond the bandage.
Monitor the Injured Person:
Stay with the injured person and continue to monitor their condition until professional help arrives.
Video by Lazarus Training Ltd
These steps are a general guide, and it’s important to seek professional medical help for serious injuries. Additionally, receiving training in first aid and wound care is highly recommended.
Basic Limitations of the Israeli bandage and tourniquet
Israeli Bandages
Tourniquets
Limited Applicability: Israeli bandages are designed for specific types of wounds, particularly those with significant bleeding. They may not be suitable for all types of injuries.
Last Resort: Tourniquets should be considered a last resort for controlling severe bleeding. They are meant for life-threatening situations when other methods have failed.
Training Requirement: Proper training is essential for effective use. Incorrect application can result in inadequate pressure on the wound.
Risk of Complications: Prolonged use of a tourniquet can result in complications such as tissue damage, nerve injury, and limb ischemia. It should only be applied for the shortest time necessary.
Not for All Wounds: Israeli bandages are primarily intended for wounds on limbs. They may not be as effective for wounds in other areas of the body.
Training Requirement: Proper training is crucial for correct tourniquet application. Inadequate application may not effectively control bleeding.
Tissue Damage: Prolonged and excessive pressure from the bandage can lead to tissue damage. Care should be taken to avoid applying excessive force.
Assessment and Monitoring: Continuous assessment of the need for the tourniquet and regular monitoring of the patient’s condition are essential. Adjustments or removal should be done based on the situation.
Portability: less bulky and easy to carry around.
Not for All Injuries: Tourniquets are specifically designed for limb injuries. They should not be applied to other areas of the body.
Portability: Tourniquets are relatively compact but might be bulkier compared to Israeli Bandages.
Types of Tourniquet
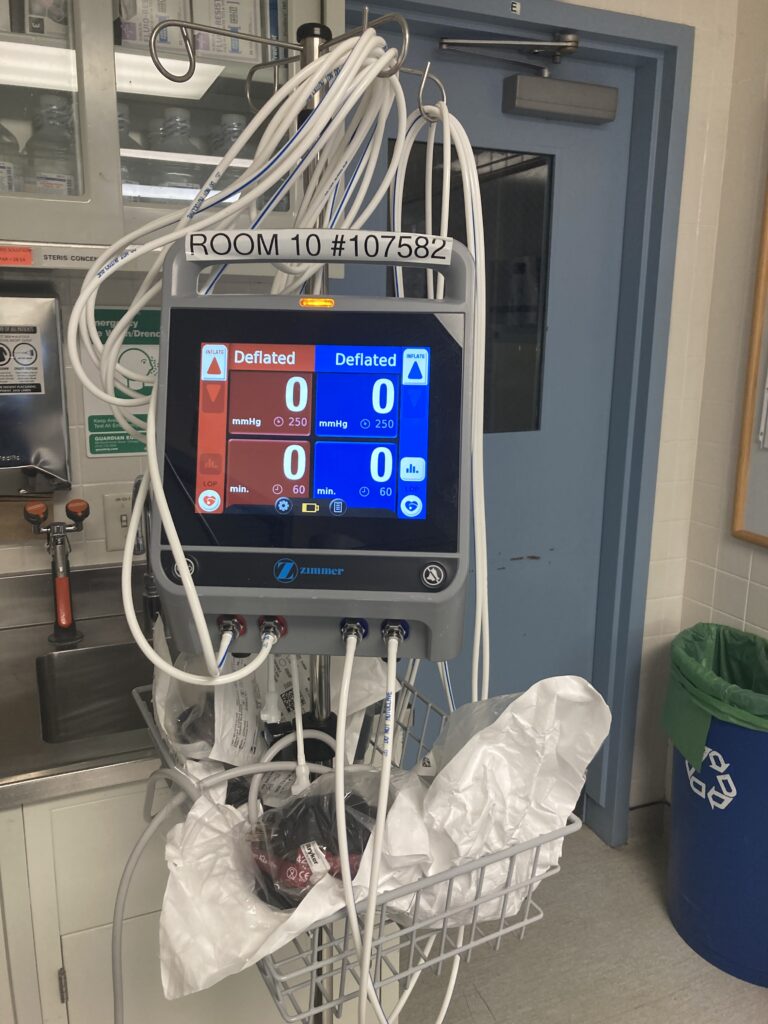
Pneumatic tourniquet: : These tourniquets use air pressure to compress the blood vessels and stop bleeding. They consist of an inflatable cuff connected to a pump. Pneumatic tourniquets are often used in surgical settings.
Pneumatic tourniquets
Pneumatic tourniquetsBelt
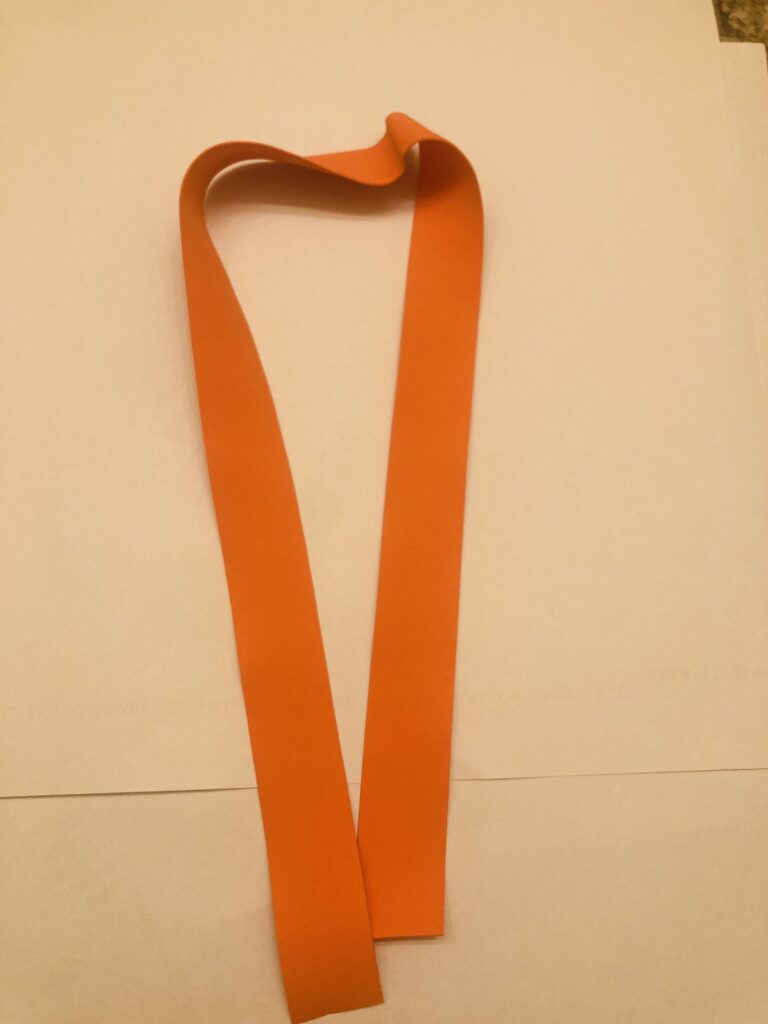
2. Flat Tourniquets: These are simple, flat bands usually made of rubber or elastic material. They can be easily tightened by pulling the ends, and some may have a buckle or clip for securing them in place
Flat tourniquet
flat orange tourniquet
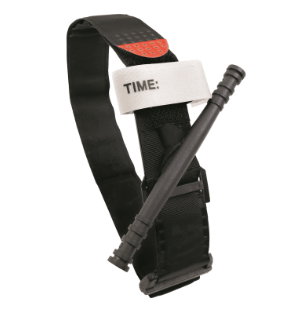
3. Windlass Tourniquets: Windlass tourniquets have a rod or stick (windlass) that can be twisted to tighten the tourniquet. This type allows for precise control of pressure and is commonly used in military and first aid applications.
Windlass Tourniquets
Brief history of the Israeli bandage
In 1984, Bernard Bar-Natan observed that the bandages provided for bleeding control were outdated, with some dating back to 1938 or 1942. Despite advancements, newer bandages still retained the same design. Trainees were advised to use a stone for applying pressure to non-clotting wounds. Bar-Natan, dissatisfied with this approach, began developing a new generation of bandages with an integrated pressure bar.
In 1990–1991, Bar-Natan sought Israeli Government support for his idea and design, securing a grant from the Office of the Chief Scientist in the Ministry of Industry. This support allowed him to join a technology incubator program in Jerusalem’s Har Hotzvim, with the government covering 3/4 of the research and development expenses. After three additional years of development, the bandage was ready for commercialization. Bar-Natan established First Care Products Ltd to oversee the design and production.
In 1998, the first bandages were purchased by a Belgian medical equipment distributor. Bar-Natan later sold his profitable company to PerSys Medical in Houston, Texas, the firm that introduced the bandage to the US military. Presently, 1.5 to 2 million bandages are produced and sold annually.
Resources
work experiences enable me to be able to work with several tourniquet and pressure dressing where i obtained most of my knowledge of the devices.